Translate

Showing posts with label DIY. Show all posts

Wednesday, 22 April 2020

Spring Cleaning Series: Organising Your Pantry


Spring Cleaning Series: Organising Your Pantry


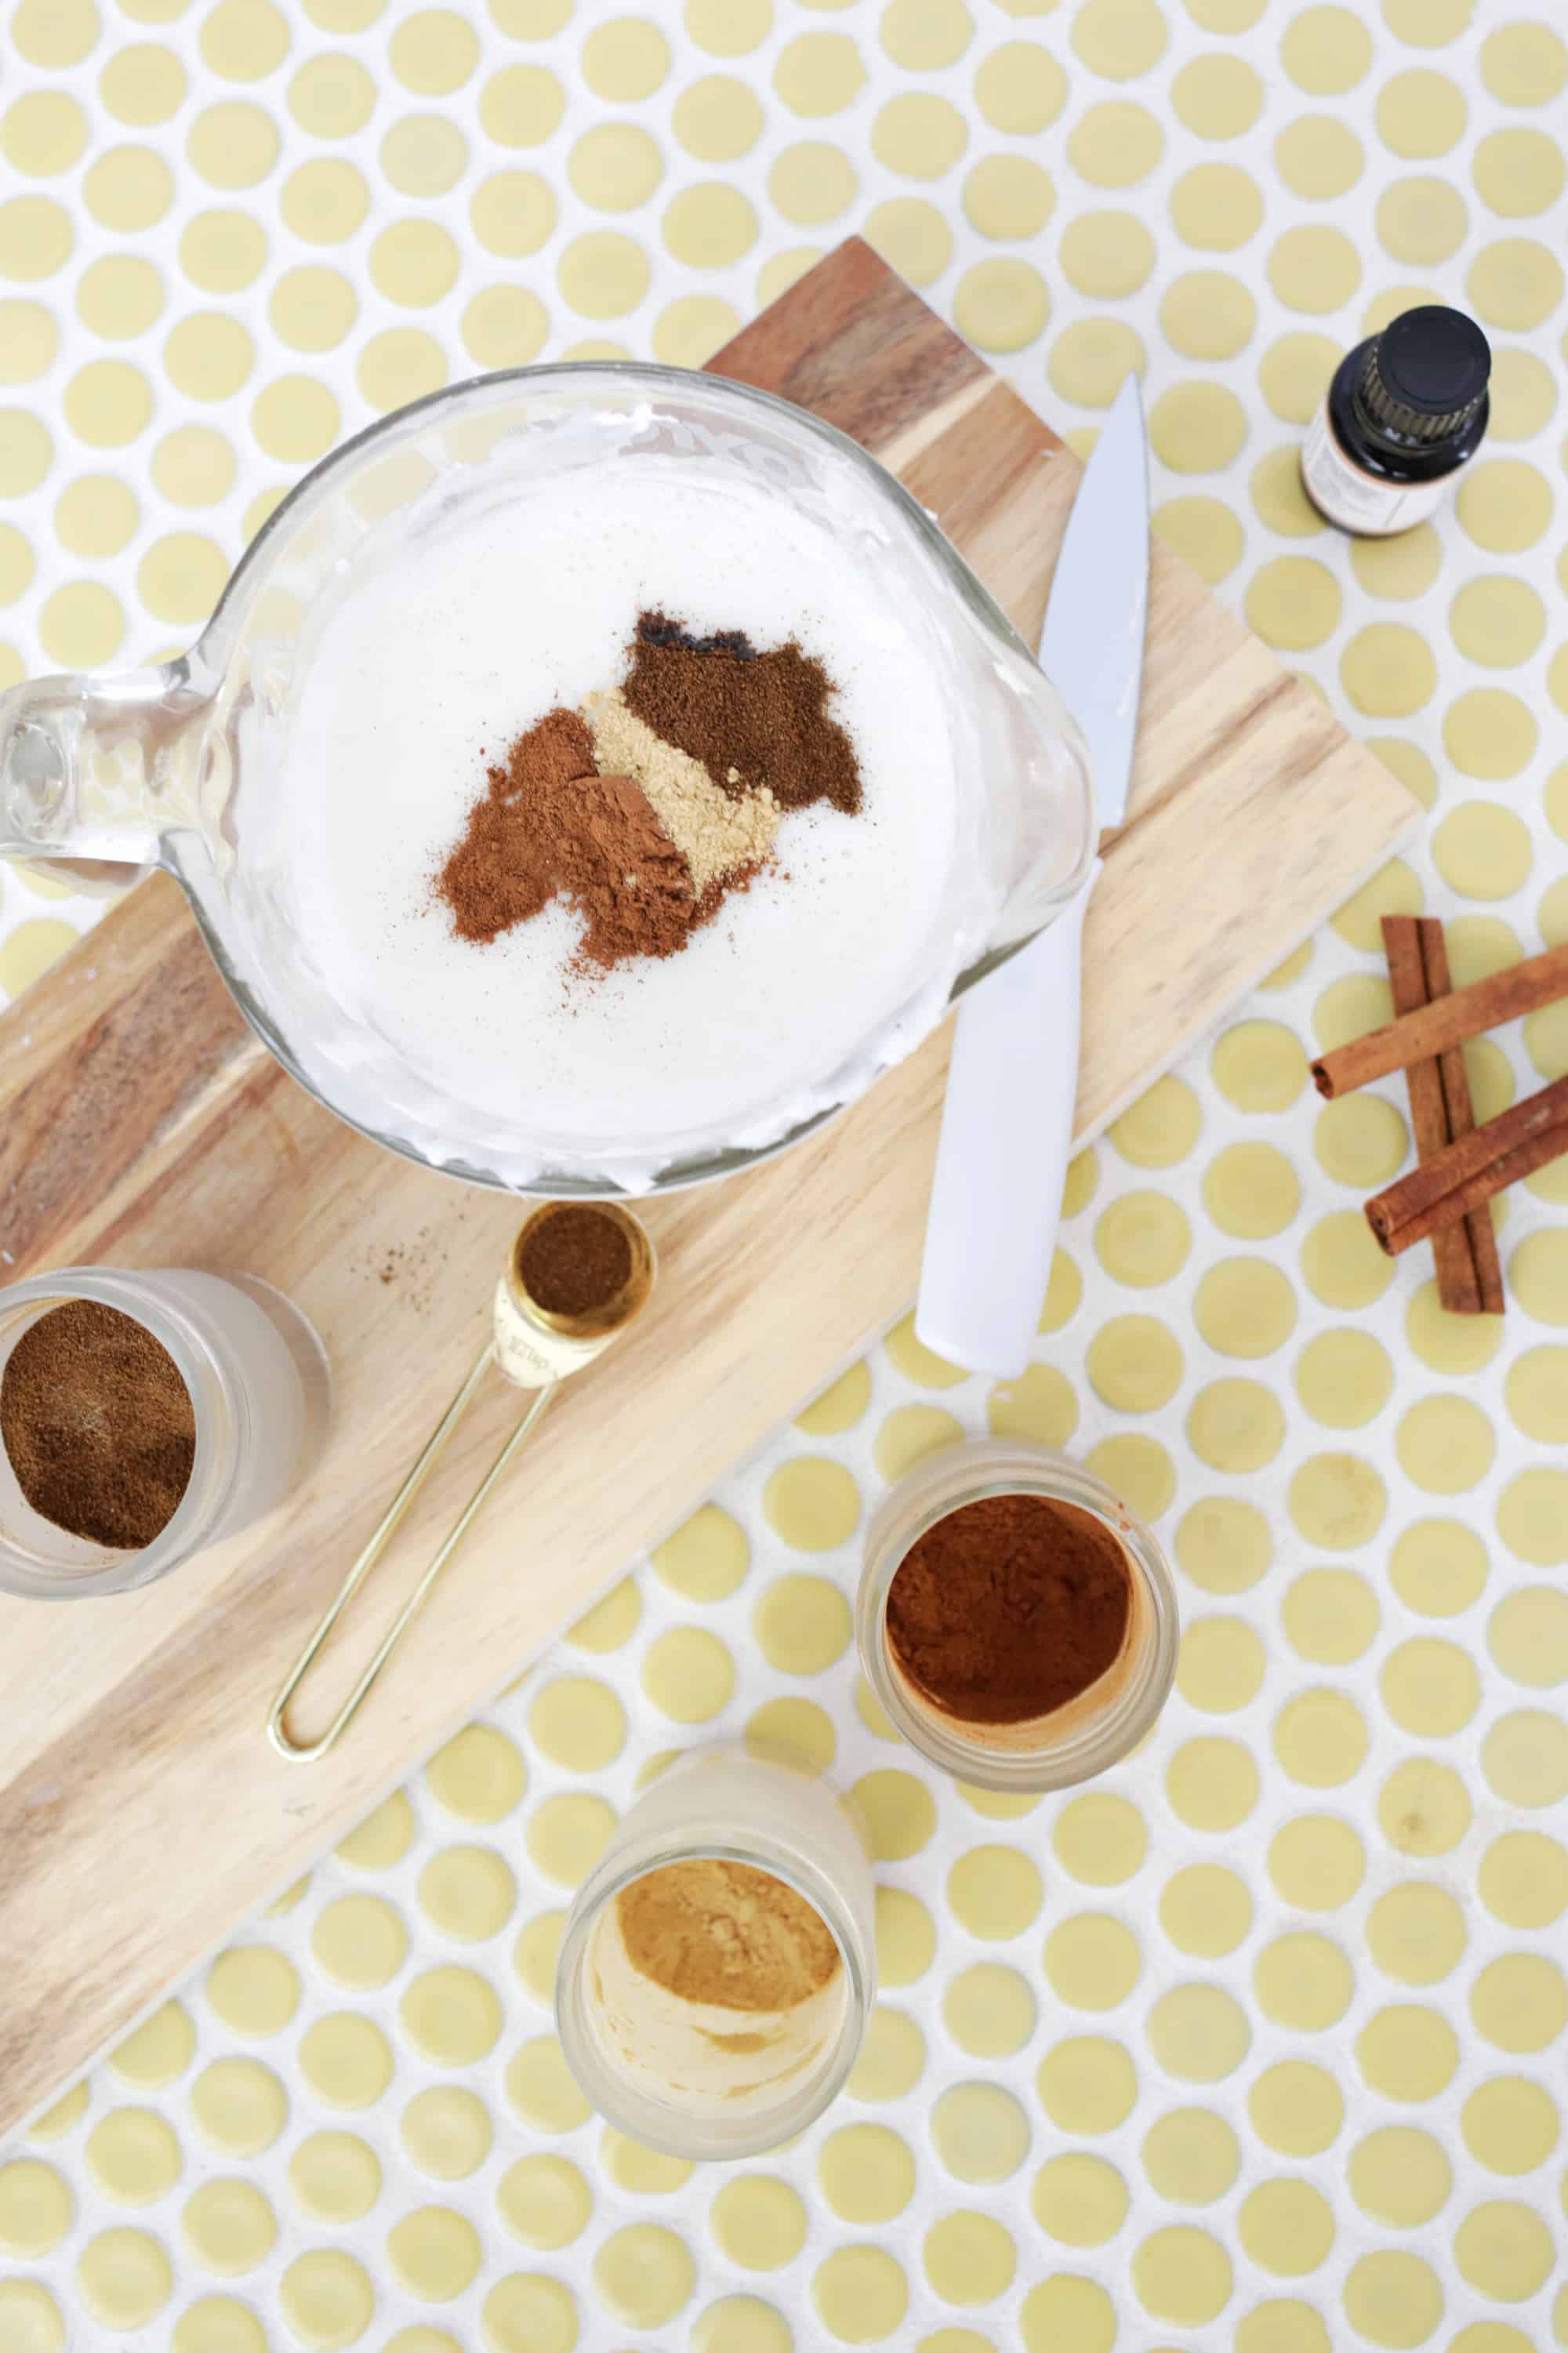
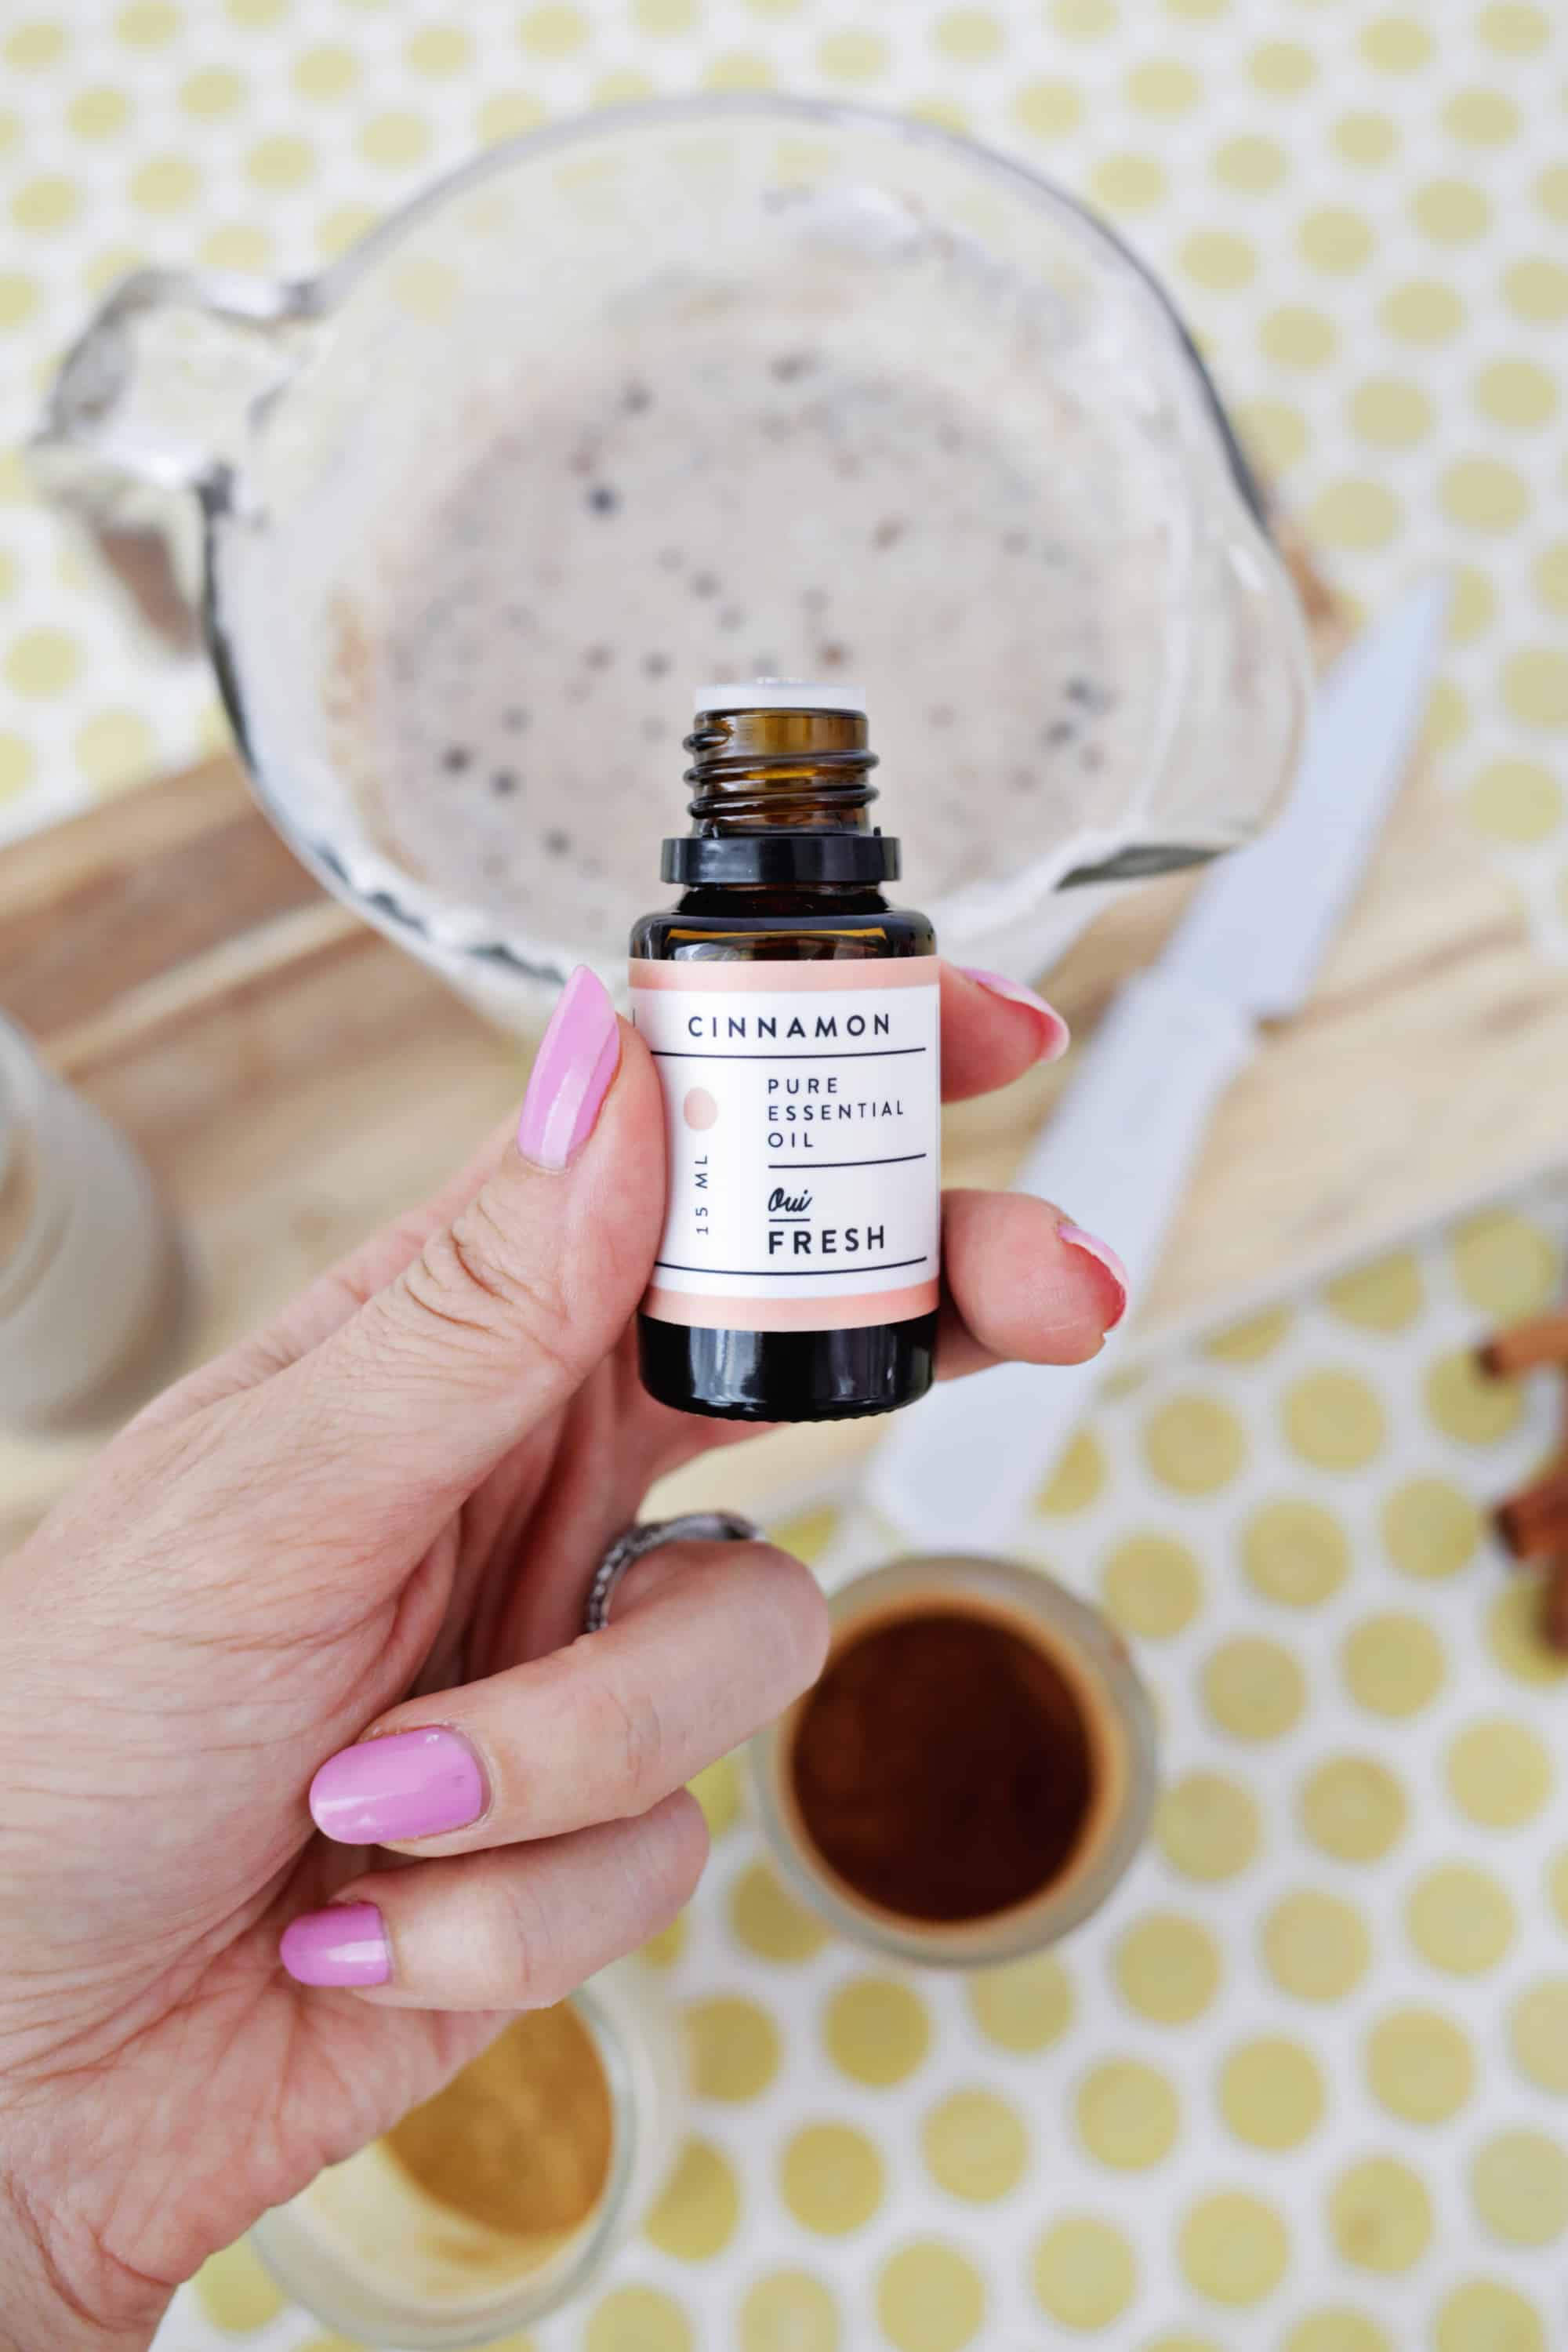
Where art thou turmeric, curry powder, cinnamon? Chances are they've probably sloped off behind the tinned tomatoes and the flour but fear not, after implementing these helpful pantry hacks, you'll never have to lose sight of your beloved spice blends or pine kernels again.


Where art thou turmeric, curry powder, cinnamon? Chances are they’ve probably sloped off behind the tinned tomatoes and the flour but fear not, after implementing these helpful pantry hacks, you’ll never have to lose sight of your beloved spice blends or pine kernels again.
With plenty of us working remotely and clawing back those extra hours we’d usually spend commuting to and from work, we have the opportunity, albeit a bittersweet one, to tackle all the little odd jobs we just l-o-v-e to put off. Now’s the time to get our humble abodes looking as neat as a new pin, starting with organising our pantries. Type As, you’re very welcome.
No pantry, no problem! Most of us use that term loosely as a fancy synonym for kitchen cupboards, so clear away the clutter and stow away the long-lasting snacks, it’s time to give your kitchen storage the glow up it deserves.
Decant products into containers
We’ve all swooned over those Pinterest worthy kitchens with their ship-shape open shelving displays and orderly jars complete with retro labels and felt a sudden enthusiasm to ‘tap to tidy’ our own homes. Well, the time has arrived.
Get savvy with your storage and do away with any bulky packaging by transferring dry food items such as pasta and cereals into clear food caddies or kilner jars. Breadcrumbs, seeds and powders such as drinking chocolate can be placed in air-tight containers and stacked to create more space.
If you have pre-packaged crisps and snacks, these can be stowed away in storage baskets or, make like Stacey Solomon and use an adjustable shower curtain pole to hang your snacks from. Because a)it’s a visual feast and b)why the hell not!
Organise products into categories
No one wants to go on a wild goose chase for their fusilli do they – apply some logic to your kitchen cupboards to help you access ingredients easily and make trying a recipe an enjoyable experience rather than a stressful one. From your cooking oils to canned goods, grains and pulses to your breakfast cereals, a food filing system will change your life.
Get in formation
Arrange your tinned food and staples with a long shelf life in front-facing rows. You can also use stair step shelves to make sure you can see the items at the back easily. Our inner Monica Geller is fast approaching a 7 over here. If you know, you know.
Add hooks on the inside of your cupboard
If you’ve got a pantry door or wall space, hanging oven mitts, tea towels, aprons and bulky utensils on hooks can free-up some room in your drawers. A wall-mounted shower caddy can also make a great home for all your vegetables.
Don’t stock up on food
Perhaps an even more important message in the context of what’s going on right now but only buy what you need. Squirrelling away rice and tins of tuna when there’s a deal on may seem economical but by cluttering up your cupboards, you’re unlikely to see what you have in. Cue expiry dates and food waste.
Streamlining your pantry is the easiest way to make sure you can see what you have in the cupboards, use up your food and replenish it when it’s running low. Minimalism is the key to a tidy pantry.


The label maker is your best friend
Hello jar containing mysterious grains, identify yourself! It could be couscous, it could be quinoa. Who knows!
Enter the label maker. Not only does it give all your glass Kilner jars a homely vintage vibe, but it’s also hella practical. Now you’ll always be able to distinguish the plain flour from your self-raising. Come through stationery, come through.
Clean your cupboards systematically
Every six months, take everything out and give it a thorough deep clean. Start at the top and work your way down, wiping the shelves and removing any sticky residue from jars. It’s always the Marmite isn’t it?
Use this an opportunity to dispose of any out of date items and note down what you need to restock.

How do you keep your pantry lookin’ sharp? Let us know!

Saturday, 21 December 2019

3 Ways to Style Your Christmas Mantlepiece

3 Ways to Style Your Christmas Mantlepiece

Adding seasonal flourishes to your home is a must at Christmas time and one of the easiest ways to do it is by styling up your mantelpiece - your tree can't have all the attention now, can it?

Your fireplace is a great place to start because it’s usually the focal point of a room but while it’s only a small and narrow space, it can be tricky to decide exactly what you want to do with it.
We’ve included a few options to suit different aesthetics from the colourful and eclectic to the simple and understated. Happy decorating!

Golden Glow
Christmas lights aren’t just for the tree. Add a holiday glow to your mantelpiece with ambient fairy lights, tea lights and candelabras.
Embed your lights into your garland or make an easy centrepiece simply by folding them into an empty hurricane vase or two.

Gold bottle brush trees, faux foliage and metallic accents finish off this beautifully understated arrangement.
You can also try leaning different sized decorations against the wall and layering them in front of one other for a relaxed display that feels perfectly undone, just like the stars in this festive vignette.
Scandinavian Vibes
Should you want a cosy look that still feels stylish, stick to a simple colour palette of frosty hues and gold for a fuss-free mantel with big impact.
Nordic white stars create a classic and restful mantel while the gold candelabras add a hint of opulence.
Three simple pillar candles keep the focal point from becoming too crowded in the centre and the height of the candelabras create just enough balance and symmetry. Subtle but undeniably festive!


The Maximalist
If you can’t go big at Christmas, then when can you? This mantelpiece décor is all about the f-u-n. Fill the narrow ledge with thick foliage to create depth and movement. We’ve gone for faux greenery here but you can use fresh garland if you prefer.
More is more when it comes to maximalist styling, so don’t hold back on colour and texture. The greenery of the foliage anchors the display, creating fluidity and visual harmony while the coloured baubles nestled into the garland and hanging from the mantelpiece provide the perfect contrast against dark walls.

Balance your focal point with a pair of pillar candles, vases, or lanterns at either end of the mantel to add symmetry. Finally, for a playful and eclectic twist add in a non-trad ornament like this quirky flamingo!

Styling Tips To Consider

Complement Your Colour Scheme
Tie your mantelpiece colours in with the rest of your living space for cohesion. Whether it’s your sofa, a feature wall or your artwork.
Stick to Odd Numbers
Like floristry, any visual display is best arranged into groups of odd numbers, especially threes.
Vary Heights
Stacked books and tall candelabras are great for drawing the eyes upwards into the vertical space and elevating your smaller decorations.
Try to Achieve Symmetrical Balance
Start with your focal point (the large piece that anchors your design) and build out by arranging elements either side of your pièce de résistance.
If perfect symmetry is too polished and buttoned up for you, go for balanced asymmetry instead. Just make sure you create the same visual weight on either side of your focal point.
Don’t Forget to Use The Whole Space
You can hang festive bunting or stockings across the fireplace to create visual interest below the mantel arrangement.
Add a Living Element
Festive foliage, whether it’s real or faux, will not only add life to your mantel but it’s a great blank canvas to work with. Once you’ve got that in place, you can layer it with colour, texture and light to your heart’s content. If you don’t want to go all-out holiday spirit with a full garland, you can experiment with sprigs of fresh eucalyptus, berries or branches of fluffy cotton flower.
Avoid Straight Lines
Cluster your items together, staggering some slightly in front and some behind rather than lining them up side by side. This will help establish depth on a narrow mantelpiece.

Sunday, 11 November 2018

EASY PUMPKIN SPICE SOAP DIY

EASY PUMPKIN SPICE SOAP DIY


It’s that time of year for all things nice and Pumpkin Spice! As we get closer to the holidays, I start to think of homemade gift ideas that can be given out to family and friends, and soaps are a great option for gifts! Since most all of us go a little crazy for the pumpkin spice profile (for good reason if you ask me), an easy Pumpkin Spice soap seems the perfect way to go for a seasonal gift idea … and this recipe is so easy to make, too!


Pumpkin Spice Soap, makes 4 bars (4 oz each)
1 pound of melt and pour soap
15-20 drops of cinnamon leaf essential oil (don’t use cinnamon bark oil on your skin—make sure it’s cinnamon leaf)
1 teaspoon pumpkin pie spice or 1/2 teaspoon cinnamon, 1/4 teaspoon ground ginger, and 1/4 teaspoon ground cloves
soap mold
microwave safe container with a spout
printable soap labels (right click to download)
First, you’ll want to chop up your soap block with a knife so you have cubes that are a little smaller than 1″ in size.
Put as many soap chunks as you can into your microwaveable container and melt for 30 seconds at a time, stirring between each melting session, until all your soap is melted through. If all your soap didn’t fit into your container at first, just add the rest in once the original load gets melted down some and melt it all together.

Once your soap is melted, add in your spices and stir to combine. If you want super fine specks in your soap, I would sift your spices into the soap a little at a time while stirring the soap, but if you don’t mind larger specks, just put it all in at once and stir.
Add in your essential oil and stir well to combine.
Pour your soap into your molds and you should be able to fill up (4) 4-ounce molds to the top. You can spray the tops of the mold with some rubbing alcohol in a spray bottle if you want to minimize the bubbles that appear on the top of the soap. Allow the soap to totally cool and set before popping the soap out of the molds. Wash and enjoy the scent!

I decided to make some soap labels for these since these seem like the perfect fall and holiday gift idea. So download and print those if you want to make a few batches for an easy gift!
\
You may have noticed one odd thing about this recipe—it doesn’t actually contain pumpkin! However, I promise you that all you need is one quick whiff of these particular spices together and your brain will go straight to Pumpkin Spice Land. You can also add other complimentary oils like sweet orange to your mix if you like that cinnamon/orange profile (which I totally do!). These are a great gift idea for the holidays as well and I bet you know more than a few people who would love to get one of these this season! xo.

Sunday, 27 September 2015

DIY decorate your iPhone wireless

DIY decorate your iPhone wireless

mylunarose


I decorate my old iPhone wireless putting the tap from the shop called Tiger and rapping it around like a spiral then putting tap around ether end and there you have it! 

mylunarose
The iPhone wireless and Tiger tap 

mylunarose
Rapping 

mylunarose
Rapping in a spiral

mylunarose
Start to rap around  either end
mylunarose
The finished look